Chi Chi Dango Mochi
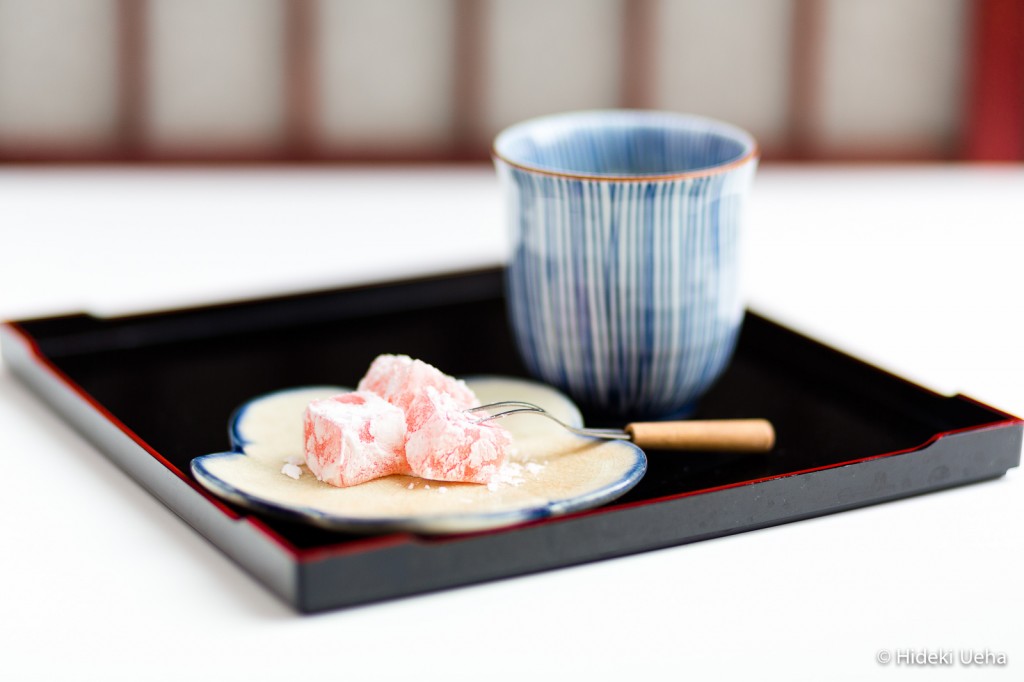
One of the things I love about motherhood is discovering that my daughter finds joy in the same foods I enjoyed as a child. I almost forgot about these colorful tiny little pieces of pillow-soft mochi, otherwise known as chi chi dango or coconut mochi. (Photo Credit: Hideki Ueha)
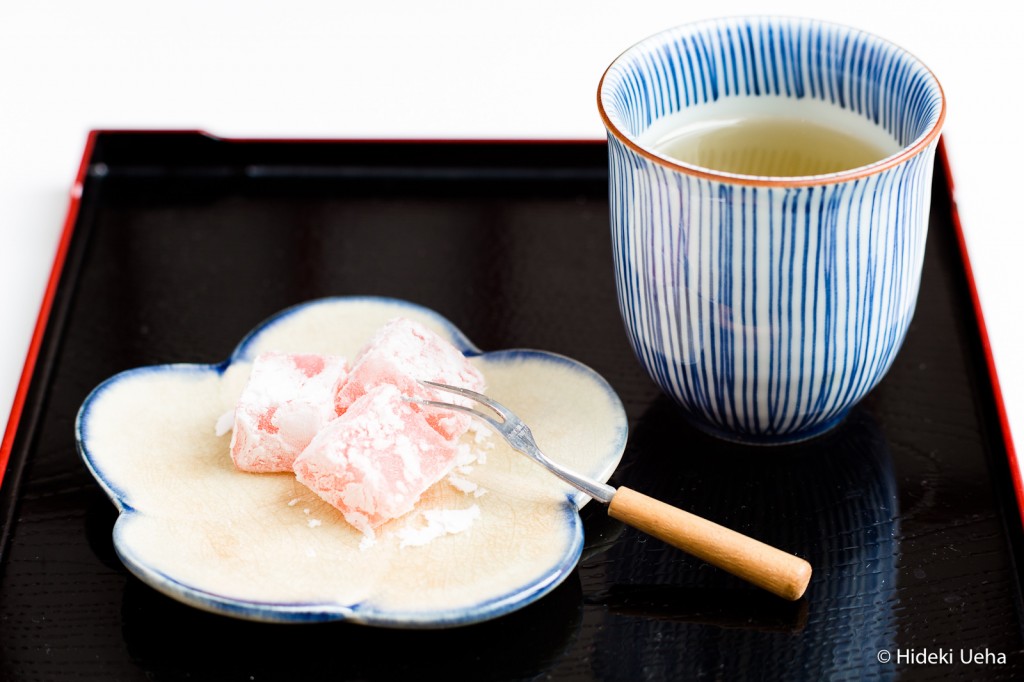
(Photo Credit: Hideki Ueha)
I can’t remember the first time I ate chi chi dango, but it was what I considered “my kind of mochi” since it didn’t involve any tsubuan or sweet red bean paste (recipe available on my blog here), which is typically associated with Japanese wagashi (sweets) and mochi. Chi chi dango was my kind of mochi since it was pure, soft, yummy mochi, and it was perfectly sweet. It wasn’t until much, much, much later in life that I would come to appreciate (in moderation) sweet red beans in Japanese dessert such as ohagi or zenzai (follow links for my recipes). However, I must admit that, to this day, if given a choice between ohagi stuffed with sweet red beans or simple chi chi dango, I would choose the latter.
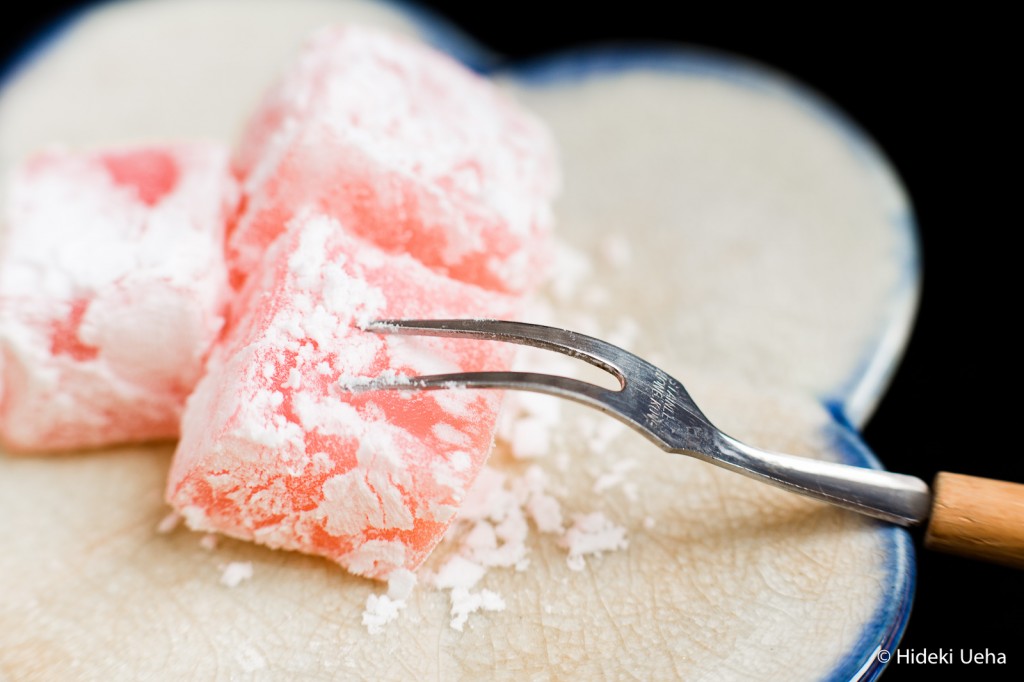
Despite the fact that I like plain sweetened mochi, rarely ever would I pick-up Mikawaya chi chi dango mochi, but a while back a dear friend of mine gave us a small box of cute pink and white baby mochi and of course Bebe E loved them. They are cut into small little cubes, the perfect size for her tiny fingers, and they are soft and delicately sweetened.
(Photo Credit: Hideki Ueha)
As with many foods that cross my path, I quickly decided that I would try my hand at making chi chi dango mochi at home. How difficult could it be, right? It’s a fairly easy recipe to prepare but I will warn you that it might be challenging to cut the sticky mochi into small little cubes. LOTS of small little cubes.
The first time I made chi chi dango was earlier in the year and I literally broke out in a sweat cutting the little cubes of mochi. It is VERY sticky, which is why it’s important that you have plenty of potato starch (corn starch may be substituted) on hand. You’ll need to cover your cutting board in potato starch, as well as your plastic knife.
TIP #1: Yes, you heard correctly. A plastic knife. Always use a plastic knife.
The plastic knife makes it easier to cut the mochi because you can easily coat it with potato starch without fear of cutting yourself, and the mochi is less likely to stick to plastic over a steel knife.
TIP #2: Don’t forget to use PLENTY of potato starch because the mochi is super sticky. Use it generously.
TIP #3: Try making tri-color mochi.
If you’re interested in making a tri-color mochi, divide the batter into three (3) equal parts. Color one layer with red or your choice of color, the second with a different color, and leave the third plain for white mochi. In a greased pan, add the first color mochi, cover with foil and bake at 350 for 15 minutes. Remove from oven and pour second color mochi batter in the pan and bake covered for 20 minutes. Remove pan from oven again and pour third color mochi batter in the pan and bake covered for 30 minutes.
As far as the color of the mochi, the sky is the limit.
Because the Mikawaya chi chi dango mochi that our friend gifted to us was pink and white, naturally Bebe E requested that I make her pink chi chi dango the first time. Right before the summer, turquoise suddenly became her favorite color and since then she often requests turquoise chi chi dango. At one point I tried my hand at swirly colored chi chi dango but it didn’t turn out as expected. It was gorgeous on top as the swirls were quite prominent, but after I baked the mochi and cut it, we were surprised to find that the mochi was solid turquoise. I’ll have to work on the swirls some more and get back to you on this one.
- 1 lb (16 oz) box of mochiko (sweet rice flour)
- 2 cups sugar (add less if preferred)
- 1 teaspoon baking powder
- 1 cup water
- 1 tsp. vanilla
- 1 15 oz can coconut milk
- 3 -5 drops red food coloring, optional (for pink mochi) or substitute with choice of color
- ½ cup potato starch
- Preheat oven to 350.
- In a mixing bowl, sift dry ingredients: mochiko, sugar and baking powder, and set aside.
- In another mixing bowl, whisk coconut mix and water. Add vanilla and mix well. Using a hand mixer, slowly add dry ingredients a little bit at a time and mix until well blended.
- Add couple drops of red or green food coloring to the batter and mix well.
- Pour the mixture in a greased 9 x 13 inch baking pan.
- Cover the pan with foil, sealing it completely.
- Bake at 350 degrees for 1 hour.
- Allow the mochi to cool completely.
- Dust a clean flat surface with some potato starch. Turn the pan of mochi out onto the surface and using a plastic knife, cut mochi into small cubes. You may also cut mochi straight from the pan, but I found that the mochi pieces tend to stick together more easily in the pan.
- Roll bite-sized pieces of mochi in potato starch and dust off excess before serving.
- Best eaten within the day. Keeps for 1 to 2 days in an airtight container in a cool location.
To see more photos by my brother-in-law, Hideki Ueha, visit the Photography page on my blog!
Happy Monday!
Judy


6 Comments